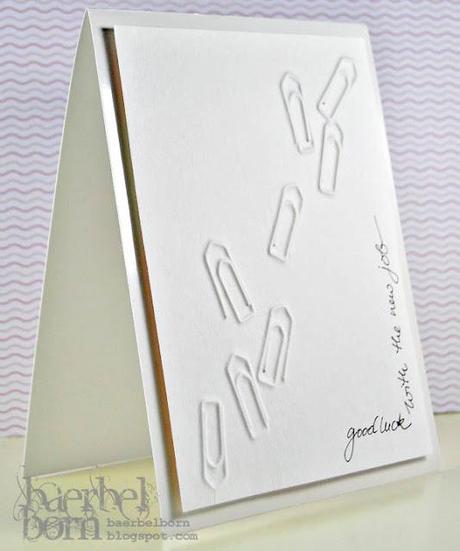
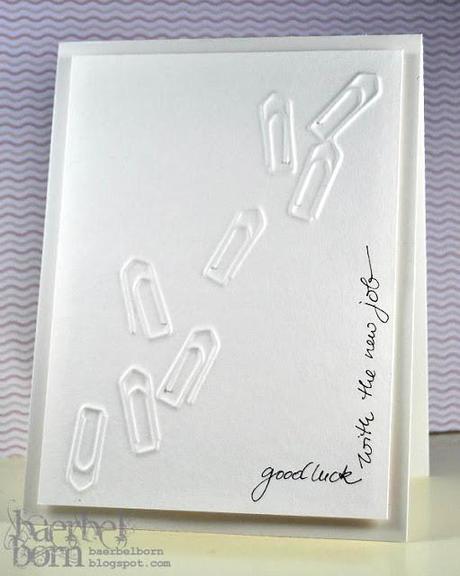
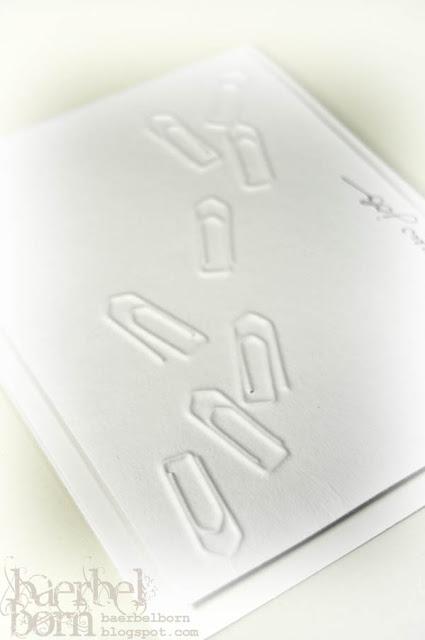
 Another fiddle friday. Believe it or not, todays technique is made in seconds but it took me all day to figure it out. I tried 3 other techniques before this one, hehe.
 Embossing with a die cut machine is not new. My crafting friends and me did it in the early days of home cutting machines back in 2000. But often crafters use folders, bought or selfmade, to emboss.
When I visited a medieval fair this spring I saw a craftsman embossing some copper with wire. I felt stupid that I never tried that before! Today I did. And it works. I will show you how. For more English please scroll down.
Am heutigen Frickel-Freitag habe ich eine ganz einfach Technik für euch. Mit den heutigen Stanzmaschinen zu embossen ist ein alter Hut, das habe ich mit meinen Bastelfreundinnen schon vor Ewigkeiten gemacht. Als ich neulich auf einem Mittelaltermarkt war, sah ich wie dort ein Handwerker ein Stück Kupfer mit Hilfe eines Drahtes embosst hat. Das kann man mit einer Stanzmaschine auch! Ich zeig euch wie.
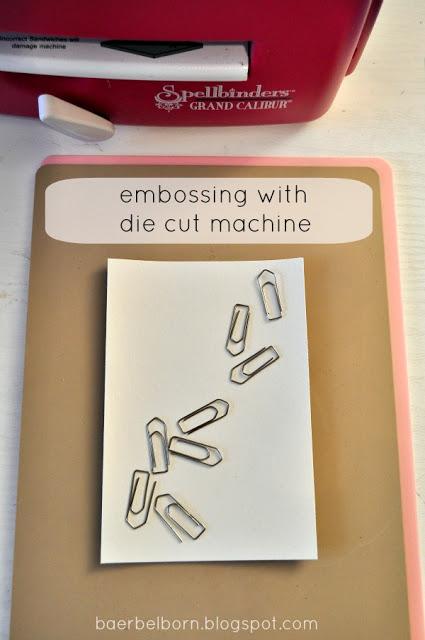
Zunächst sucht ihr euch etwas, das nicht zu dick ist und nicht zu weich. Draht ist hier ideal. Ihr könnt fertige Formen benutzen, wie Büroklammern, oder auch eigene Formen zurecht biegen, mit einer Juwelierzange. Ich muss mal ausprobieren, ob ich einen Namen oder Text hinbekomme...
Zum Prägen habe ich Aquarellpapier benutzt. Vor dem Prägen sollte man es leicht anfeuchten, das macht das Papier leichter formbar. Ich benutze eine Grand Calibur von Spellbinders, wenn ihr andere Maschinen benutzt müsst ihr die richtige Kombination selbst herausfinden. Ich habe die Platten benutzt, die man auch für das Embossen nehmen soll. Die Reihenfolge ist: Rosa Platte, Gummiplatte, Papier, Draht, graue Platte. Ich habe später unter das Papier, also zwischen Gummimatte und Papier, noch Backpapier gelegt, da mein feuchtes Papier beim ersten Versuch etwas am Gummi klebte. Nur EINMAL durchkurbeln! Ich embosse immer gern zweimal, aber das war für mein Papier des Guten zu viel und ich bekam Risse an den geprägten Stellen.
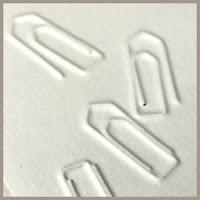
Use some wire and bend into shape or use shapes you can find, like the paperclips I used. Try to form a name or text with some wire, it will be fun to emboss it!
For embossing I used watercolor paper and dampened it a bit, this will make the paper softer and easier to bend. If you use the Grand Calibur from Spellbinders like I did, the plates you will need are: pink embossing plate, rubber, baking/wax paper, paper, wire, base plate. The wax/baking paper will prevent the dampened paper from sticking to the rubber sheet. Please only pull the sandwich through the machine ONCE! I tried this two times and the embossing became so deep that my paper began to tear.
Keep in mind that the image will appear reversed. After the embossing let dry your paper and turn it into a pretty card or paper craft. Enjoy.
Bedenkt bitte, dass die Motive spiegelverkehrt auf der geprägten Seite erscheinen. Lasst euer Papier trocknen und verarbeitet es weiter zu einer schönen Karte oder anderen Papierarbeiten. Viel Spaß!
